
You might remember that back in October, I mentioned that I was starting a quilt - like the one Tara Dennis made on BH&G last August. (Her little video is here.) Well, I was right with my off-hand comment that it might be quilt weather by the time I was finished. D'oh!
I wanted something for myself, to use the fabrics in my stash that I just hadn't been able to part with. So a simple quilt for the couch was the answer.
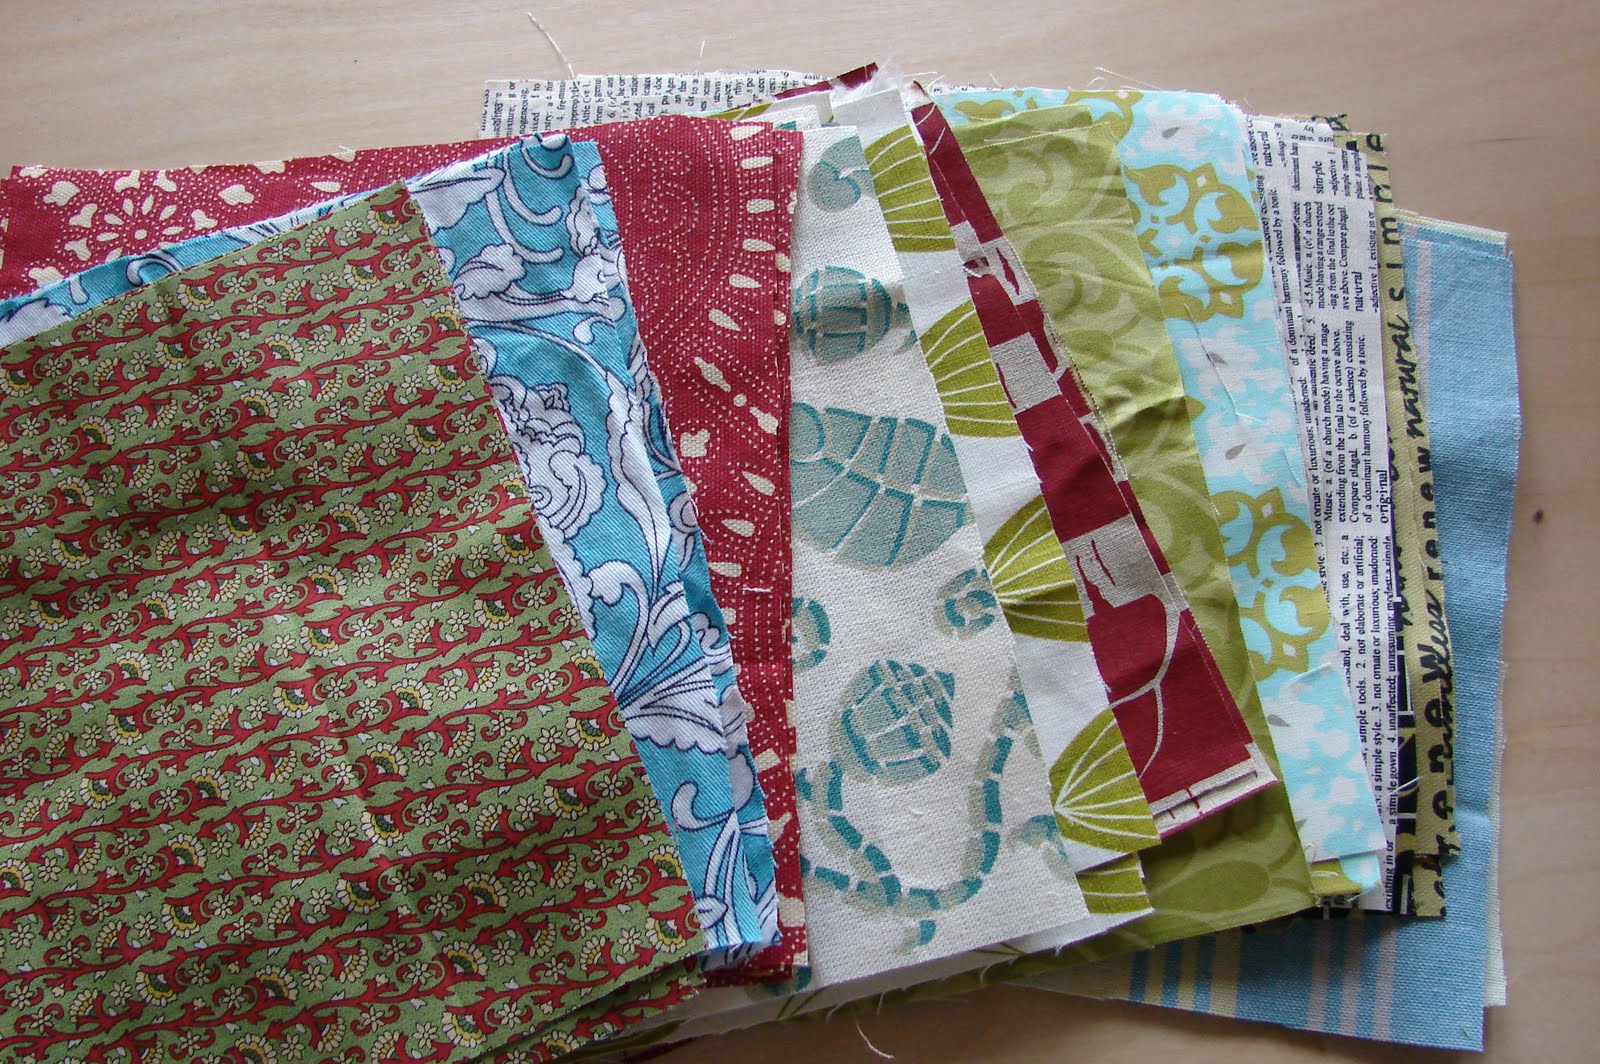
I didn't want to buy anything new, so I based my square size on the amount of the fabrics that I already had - they ended up being 20cm x 20cm. They can be as big or as small as you like, just remember that you need enough backing fabric to make the same number of squares as the front (I used 48, in a 6x8 formation) as well as enough of your 'warm' filler to make the same number of squares, 2cm less per side than the main fabrics. For the back I used a thrifted red sheet (heaps left over) and my fill was an old, soft, thick, flanelette sheet.
Here is a little quite long (sorry!) step-by-step, if you're thinking of making one for yourself...
Once you have all the squares cut from all three fabrics, press all pieces well. (It will make them easier to handle and line up.)

Sandwich a piece of the fill centred between a backing and top piece and line up neatly. Pin to hold in place.


Stitch across both diagonals of the square. (You can either use the same colour thread for each piece, or co-ordinate with your fabric.)
Once all the squares have their layers sewn together, the fun part starts! Lay your squares out to decide on the design. I was trying to have an even mix of colours spread across the rug (the cat was quality control). I also tried to vary the direction of the designs so that it looked OK from any angle. Once your're happy with the design, pin the squares into rows. (I did 6 rows of 8 squares.)

This is the unusual part of the project - you need to pin and stitch the squares wrong sides together! (For anyone who has done some sewing before, this will feel really wrong.) Stitch your squares into rows, keeping them in order so you don't mess up your carefully contructed design. (Just sayin'. Not that I would do this...)

Press the seams on one row all in the same direction. Then do the next row in the opposite direction. This will make the seams less bulky when you come to sew the rows together.

The back of the row should be nice and neat - feels weird, but it will look great!

Once all your rows are complete, line up and pin the rows - wrong sides together, then stitch. (As I had 6 rows, I did them in 2 lots of 3, so I wasn't handling so much of the quilt at once.)

Then sew the sections of the quilt together in the same way. Once it's all in one piece, do a row (or two) around the entire quilt, leaving the same seam allowance as the rest of your seams.

Now for the tedious bit, that makes it look so cool once it's washed. You have to clip all the seams.
All. The. Seams. There are many. Use very sharp scissors and cut down to (but not through) the stitching, about every centimetre.

One more step!
Put the quilt into a pillowcase or cloth bag (to stop your washing machine getting full of threads) and wash well. I also put mine through the dryer. The exposed seams should go all fluffy and delicious. And that's it!
Now pop it on the couch and wait for cool weather and Desperate Housewives a very interesting documentary. Mmmmmm.

P.S. "Really I don't dislike to cook, but what you cook is eaten so quickly. When you sew, you have something that will last to show for your efforts." ~Elizabeth Travis Johnson
*I am linking up with DIY Day @ A Soft Place to Land here.*
* Made By You Mondays @ Skip To My Lou here*
*Get Your Craft On @ Today's Creative Blog here*
*Look What I Made Day @ Creations by Kara here*
Go and check out all the wonderful projects in blogland!

7 comments:
Thanks Miss Paula,
Have been waiting for this post since I saw you last.
Thank you, will have a go with the chenille.
Fantastico! I love the tutorial you make it look so easy and i really love those edges!
Sew much fun hey!
Love yours :)
so pretty and cheerful! ...makes me so happy that I stopped by! I hope to see you at my place one day this week when you get a moment. until later...
I've been wanting to try one of these. I may have to go root through my scraps.
OMGosh! That is absolutely gorgeous. You did such a beautiful job. I don't know if I could ever tackle anything like that. The colors are beautifal and I love the way you arranged the blocks.
This is beautiful! Love the combination of all the happy colors.
Post a Comment